
Before you start
Windows 11, a clean Cyberpunk 2077 installation and at least 10 GB VRAM. Check the author’s current requirements.
Downloads & documentation
Use the project and author pages below for the current releases and requirements.
Project ULTRAPUNK
Author’s installation guide
Wabbajack releases
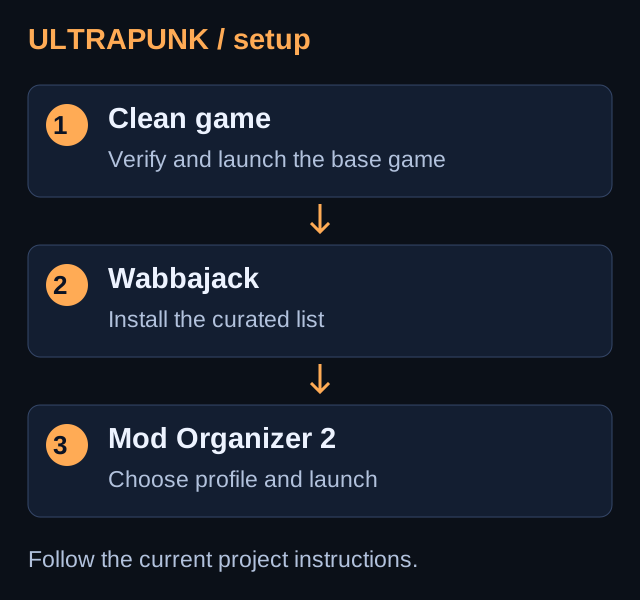
Prepare a clean game
Remove earlier mods, verify the game through your store and launch it once. Back up your saves.
Install through Wabbajack
Read the list README first. Select Project ULTRAPUNK in Wabbajack’s gallery or open its downloaded .wabbajack file. Choose an empty installation folder outside the game, Wabbajack and protected Windows folders, plus a folder for download archives. Let the installation finish; retrying can reuse downloaded archives.
Choose your VRAM profile
Open the included MO2. Select Performance (10 GB VRAM), Quality (12 GB), Ultra Quality (16 GB) or Psycho Quality (20 GB), then launch.
Keep configuration changes
Close the game after its first run. Create and enable [NoDelete] Config Files at MO2’s bottom. Copy the Project Ultrapunk - Additional Files folders into it, excluding meta.ini.
Check the setup before adding more
Test a saved scene, audio and a second launch. Record the selected profile and game version. Add optional graphics changes one at a time so you can identify a conflict.
Update without losing your setup
Back up saves and reuse your installation folder. Wabbajack updates can remove added mods without [NoDelete] protection.
Troubleshooting
Installation stops
Read the Wabbajack error and the list README. Retry with the same download archive folder; avoid deleting completed downloads unnecessarily.
Crashes or missing visuals
Check the VRAM profile and remaining mods from an older setup. Return to the author’s intended configuration before troubleshooting additions.
GO TO THE SOURCE
Sources & reference
Menu names and compatibility may change. Follow the linked project documentation for your exact release.